 info@nbcoir.com
 +94

Step-by-Step: Setting Up a Commercial Greenhouse with Coco Grow Bags
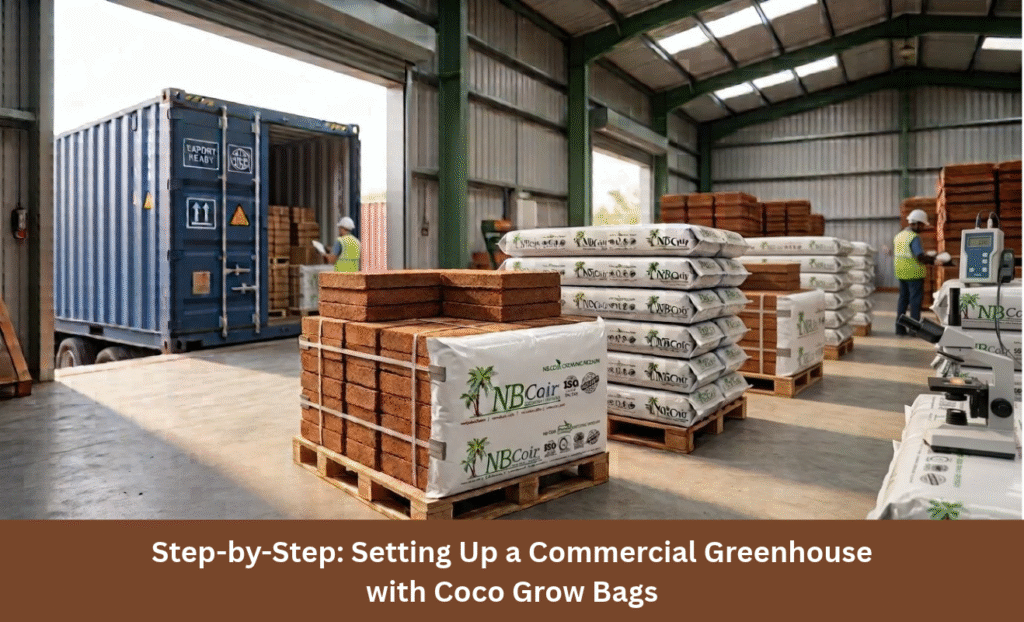
Setting up a commercial greenhouse with coco grow bags is one of the most efficient ways to grow high-value crops like tomatoes, cucumbers, peppers, strawberries, and leafy greens. Coco grow bags offer excellent water retention, good aeration, and consistent performance when managed correctly. They also reduce labour compared to traditional soil beds and make crop rotation cleaner and faster.
Here’s a clear, practical step-by-step guide to help you set up a commercial greenhouse using coco grow bags successfully.
1. Plan the Greenhouse Layout and Infrastructure
Before ordering any grow bags, finalise the overall design.
- Decide on the greenhouse structure (gable, gothic, or tunnel type) based on your climate and crop.
- Plan row orientation (usually north-south for even light distribution).
- Design pathways wide enough for workers, trolleys, and harvest carts.
- Install proper drainage systems under the growing area so excess water can flow away cleanly.
- Decide whether you will use raised benches, hanging gutters, or ground-level channels.
A well-planned layout saves time and money later.
2. Choose the Right Coco Grow Bags
Not all coco grow bags are the same. For commercial use, look for:
- Low EC (preferably under 0.5 mS/cm for washed and buffered bags)
- Consistent particle size and good air-filled porosity
- Suitable volume for your crop (common sizes range from 10–20 litres per bag)
- Pre-cut or easy-to-cut planting and drainage holes
- Strong UV-treated outer bags that last a full season
Many professional growers prefer bags that can be customised for peat-to-chip ratio and EC level. Reliable manufacturers such as NB Coir in Sri Lanka produce export-quality coco grow bags that can be tailored to specific crop and climate needs.
3. Prepare the Growing Area
- Clean and level the floor or benches thoroughly.
- Install drainage channels or gutters so runoff water can be collected or directed away.
- If using hanging or elevated systems, ensure they are strong enough to hold the weight of fully hydrated bags plus plants.
- Lay out the irrigation main lines and laterals before placing the bags.
4. Install the Irrigation System
Coco grow bags perform best with drip irrigation.
- Use pressure-compensating drip emitters (usually 1–2 litres per hour).
- Place 2–4 emitters per bag depending on bag size and number of plants.
- Install filters, pressure regulators, and a reliable fertigation unit.
- Test the system for uniform water delivery across all rows before placing any bags.
Even water distribution is critical for consistent plant growth.
5. Position and Hydrate the Grow Bags
Place the dry, compressed grow bags in their final positions along the rows or gutters.
Hydration is one of the most important steps:
- Use clean water or a mild nutrient solution (EC around 1.2–1.5 mS/cm with added calcium and magnesium).
- Apply water slowly through the drip system until the bags fully expand.
- Allow 12–24 hours for complete expansion and settling.
- Check that every bag has expanded evenly. Re-water any dry spots.
Never plant into dry or only partially expanded bags.
6. Create Planting and Drainage Holes
Once the bags are fully expanded:
- Cut planting holes according to your crop density (usually 2–3 plants per standard bag for tomatoes or cucumbers).
- Make drainage slits near the bottom of the bag (usually 2–3 cm from the base) so excess water can drain freely.
- Avoid making drainage holes too high, as this can cause waterlogging at the bottom of the bag.
7. Transplant Seedlings
- Use healthy, well-rooted seedlings or plugs.
- Plant them at the correct depth and firm the coco gently around the root zone.
- Water lightly immediately after transplanting to settle the roots.
- Avoid planting too deeply or leaving air pockets around the roots.
8. Establish the Nutrient and Irrigation Schedule
Coco has a high cation exchange capacity and initially holds potassium while releasing it slowly. This means calcium and magnesium management is especially important in the early stages.
- Start with a balanced vegetative feed and gradually increase EC as plants grow.
- Aim for 10–20% runoff with each irrigation to prevent salt build-up.
- Irrigate frequently with smaller volumes rather than heavy, infrequent watering.
- Regularly check runoff EC and pH (target pH usually 5.8–6.5).
Keep detailed records of irrigation volumes, EC, and pH from day one.
9. Manage Climate and Crop Support
- Maintain proper temperature, humidity, and ventilation according to the crop.
- Install trellising, strings, or support systems early for vining crops.
- Monitor for pests and diseases regularly — coco systems are cleaner than soil but still require good hygiene.
10. Monitor and Adjust Throughout the Season
Successful commercial production depends on continuous observation:
- Check substrate moisture and plant health daily.
- Adjust irrigation frequency based on weather, plant size, and growth stage.
- Flush the bags periodically if runoff EC rises too high.
- Keep the greenhouse clean and remove any diseased plant material quickly.
Final Thoughts
Setting up a commercial greenhouse with coco grow bags is straightforward when you follow a clear process. The biggest advantages come from using consistent, high-quality grow bags and managing water and nutrients carefully from the first day.
Choosing a reliable supplier who can provide uniform, low-EC, and customisable coco grow bags makes a noticeable difference in crop performance and operational efficiency. Manufacturers like NB Coir, with years of experience producing export-grade coco products in Sri Lanka, are often preferred by commercial growers who need dependable quality and the ability to customise specifications.
If you are planning a new greenhouse project or upgrading an existing one, start with good quality grow bags, a well-designed irrigation system, and disciplined monitoring. The results will speak for themselves.