 info@nbcoir.com
 +94
+94 
Coco Coir Grow Bags: Complete Guide for Greenhouse & Hydroponics
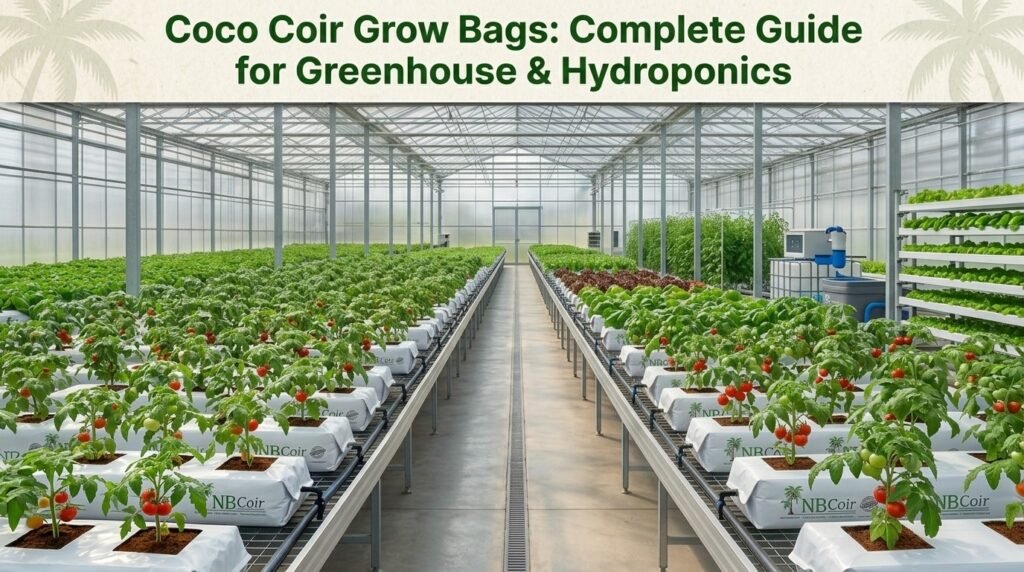
Coco coir grow bags have become one of the most popular growing media for modern greenhouse and hydroponic systems. Made from the fibrous husk of coconuts, these ready-to-use bags offer excellent water retention, superior aeration, and consistent performance that traditional soil or plastic pots struggle to match.
Whether you grow tomatoes, cucumbers, peppers, strawberries, or cannabis, coco coir grow bags deliver faster root development, better nutrient control, and higher yields. In this complete guide, you will learn everything about types, sizes, how to use coco coir grow bags, and their clear advantages over traditional pots.
What Are Coco Coir Grow Bags?
Coco coir grow bags are pre-filled, compressed bags containing processed coconut husk material (coir pith, fiber, and/or chips). They arrive dry and expand when hydrated. The bag itself is usually made of UV-stabilized polyethylene or non-woven fabric and features planting holes and drainage slits.
Unlike loose coco coir that you fill into pots, grow bags are ready-to-use. Place them, hydrate, cut holes, plant, and start fertigation. This makes them ideal for commercial greenhouses and serious hydroponic growers who want consistency and reduced labor.
How to Use Coco Coir Grow Bags (Step-by-Step)
Using coco coir grow bags is straightforward when you follow a consistent process.
1. Position the bags
Place them on a level surface or in gutters. Ensure good drainage underneath.
2. Cut drainage slits
Make 2–4 short slits (1–2 cm) near the bottom sides or base if not pre-cut. This prevents waterlogging.
3. Hydrate thoroughly
Add clean water or low-EC nutrient solution slowly and evenly. Most bags need 10–25 liters depending on size. Allow 20–60 minutes (or up to 24 hours for full expansion and buffering). The bag will swell significantly.
4. Check and adjust pH & EC
Target root-zone pH 5.5–6.5 (ideal input 5.8–6.2). Initial EC of high-quality washed/buffered bags should be low (<0.5–1.0 mS/cm). Buffer with calcium nitrate or Cal-Mag solution if needed.
5. Cut planting holes
Open the pre-marked planting holes or cut new ones according to plant spacing.
6. Transplant seedlings
Place healthy transplants into the holes. Ensure roots contact the wet coir.
7. Install irrigation
Use drip emitters or micro-tubes. Aim for even distribution.
8. Start fertigation
Begin with lower EC and increase gradually. Always water to 10–20% runoff to prevent salt buildup.
Ongoing management tips:
- Feed frequently with smaller volumes rather than large infrequent waterings.
- Monitor runoff EC and pH weekly.
- Maintain consistent moisture — never let the coir dry out completely.
- Use coco-specific nutrients (higher calcium and magnesium).
Advantages of Coco Coir Grow Bags Over Traditional Pots
Coco coir grow bags outperform traditional plastic or clay pots in several important ways:
- Superior root health — Natural air pruning in breathable bags creates a dense, fibrous root system instead of circling roots.
- Better aeration and drainage — High air-filled porosity reduces risk of root rot while still holding ample water.
- Consistent performance — Uniform media from bag to bag, unlike variable soil mixes.
- Lightweight and space-efficient — Easier to handle, move, and arrange in dense greenhouse rows.
- Sustainable and renewable — Coconut byproduct vs peat moss or plastic pots.
- Reusable (2–3 cycles) with proper sterilization, lowering long-term cost compared to single-use rockwool or frequent pot replacement.
- Excellent for hydroponics & fertigation — Precise nutrient control and high cation exchange capacity.
- Reduced disease pressure — Sterile, pathogen-free media when properly processed.
- Labor savings — No mixing, filling pots, or heavy soil bags.
Traditional pots can still work well for home gardeners or long-term perennials, but for greenhouse production and intensive hydroponics, coco coir grow bags usually deliver higher yields and simpler management.
Best Crops for Coco Coir Grow Bags
- Tomatoes (especially high-wire)
- Cucumbers
- Peppers and chilies
- Strawberries
- Melons and watermelons
- Leafy greens and herbs
- Cannabis and specialty crops
Common Mistakes to Avoid
- Skipping proper hydration and buffering
- Using regular soil nutrients instead of coco-specific formulas
- Over- or under-watering (watch for consistent moisture)
- Ignoring runoff EC (leads to salt accumulation)
- Choosing the wrong size or blend for your crop and climate
Conclusion
Coco coir grow bags offer a powerful combination of performance, sustainability, and ease of use for greenhouse and hydroponic growers. By selecting the right type and size, following proper hydration and fertigation practices, and leveraging their natural advantages over traditional pots, you can achieve healthier plants and higher yields.
Start with high-quality, low-EC, pre-buffered bags from a reputable supplier, monitor your pH and EC closely, and adjust irrigation to your specific environment. The results speak for themselves.
Ready to switch to coco coir grow bags? Choose the size and blend that matches your crop and start growing smarter today.
Frequently Asked Questions
What is the best size coco coir grow bag for tomatoes?
Most commercial growers use 100 × 20 × 12–15 cm bags for 2 plants per bag.
Do I need to buffer coco coir grow bags?
Yes, even pre-buffered bags benefit from a Cal-Mag soak or verification rinse before planting.
How often should I water coco coir grow bags?
Frequently with smaller volumes to maintain even moisture and 10–20% runoff. Frequency depends on climate, plant size, and bag volume.
Can coco coir grow bags be reused?
Yes, high-quality bags can often be used for 2–3 crop cycles after proper cleaning and sterilization.